How to Connect a Soundbar to Your TV for the Best Audio Quality
Learn the best way to connect a soundbar using HDMI eARC, ARC or optical, fix common audio problems, and get cleaner TV sound with a professional setup.
Table of Contents18 sections
- How to Connect a Soundbar to Your TV for the Best Audio Quality
- Why Your Audio Connection Matters
- Start with HDMI eARC or ARC
- What About Optical Audio and Bluetooth?
- Clean Step-by-Step Soundbar Connection Guide
- Wall Mounting and Cable Management
- Soundbar Placement: Wall-Mounted or Attached to the TV?
- Dolby Atmos, Passthrough, and Audio Format Settings
- Common Problems After Installation and How to Fix Them
- Professional Pre-Installation Checklist
- The TVPro Perspective
- FAQ
- Is HDMI eARC better than an optical audio cable?
- Can one remote control both my TV and soundbar?
- Can a soundbar be mounted directly under a TV?
- Why does my soundbar play sound but not Dolby Atmos?
- Can I hide the soundbar power cable inside the drywall?
- Should I use the HDMI cable that came in the soundbar box?
How to Connect a Soundbar to Your TV for the Best Audio Quality
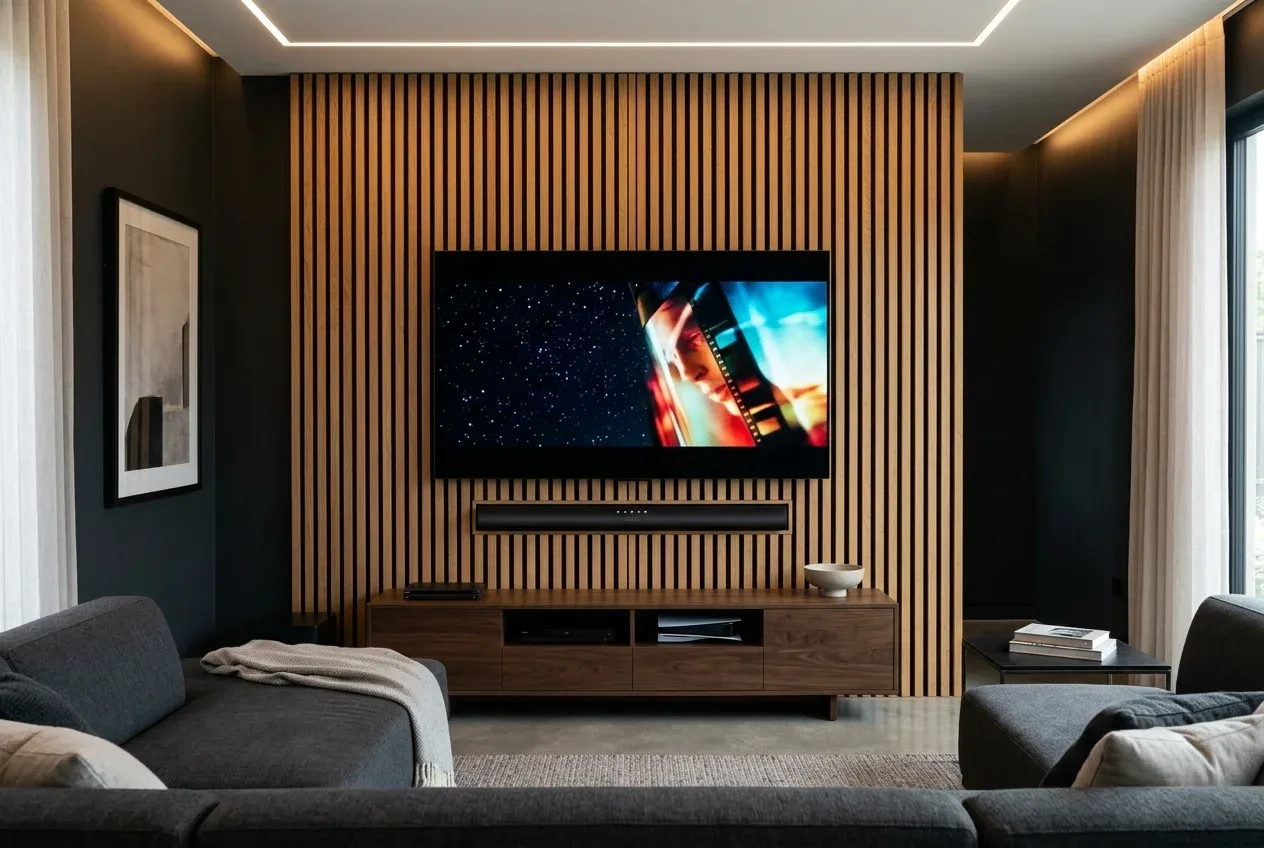
Suggested Alt Text: wall mounted tv with soundbar centered on modern feature wall
Why Your Audio Connection Matters
A soundbar can improve dialogue clarity, music depth, and movie impact more than almost any other upgrade around a wall-mounted TV. But the cable you choose, the HDMI port you plug into, and your TV’s internal audio settings all determine the final sound quality.
A premium soundbar connected to the wrong port can behave like an entry-level speaker, stripping out multi-channel audio or Dolby Atmos. Conversely, a properly configured connection turns your primary remote into a clean, unified control center for both power and volume.
Ready for Professional Setup?
Get a free, no-obligation estimate from local certified technicians in the Greater Houston Area.
Start with HDMI eARC or ARC
For modern televisions, HDMI eARC (Enhanced Audio Return Channel) is the gold-standard connection when both the TV and soundbar support it. eARC carries high-bandwidth, uncompressed audio formats like Dolby Atmos and DTS:X directly from streaming apps or connected consoles.
Standard HDMI ARC remains an excellent alternative for slightly older equipment, carrying standard Dolby Digital 5.1 surround sound. The crucial detail is plugging into the dedicated port labeled eARC or ARC on your TV and the matching port on the soundbar—standard HDMI input ports will not transmit TV audio back to the speaker.
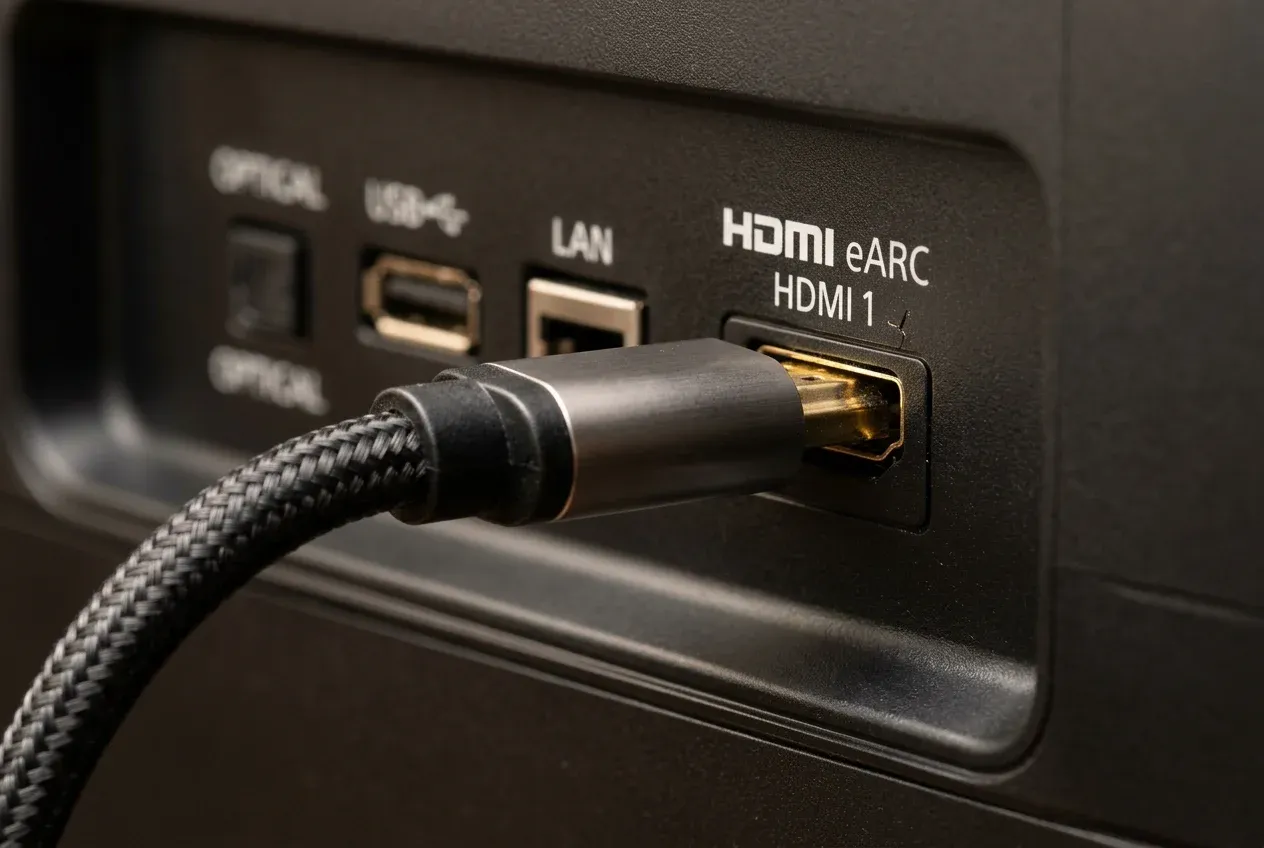
Suggested Alt Text: close up of braided hdmi cable connected to tv hdmi earc port
What About Optical Audio and Bluetooth?
An Optical (Toslink) digital connection is a reliable fallback when HDMI ARC is unavailable or when connecting vintage audio gear. While optical delivers crisp digital stereo and basic 5.1 audio, it lacks the bandwidth for lossless Dolby Atmos and does not support HDMI-CEC, meaning you will need separate remotes for TV power and soundbar volume.
Bluetooth works well for casual phone music streaming, but for permanent TV viewing, a wired digital connection is essential to prevent latency, audio sync delay, and wireless compression.
Clean Step-by-Step Soundbar Connection Guide
Follow this proven sequence to establish a rock-solid audio connection:
- Locate the ARC/eARC Port: Inspect the side or rear connection panel of your TV and locate the specific HDMI port labeled ARC or eARC (often HDMI 2 or HDMI 3).
- Use a High-Speed or Ultra High-Speed HDMI Cable: Connect one end to the TV’s eARC port and the other to the soundbar’s HDMI Out / eARC port.
- Power On Both Devices: Turn on the TV and soundbar.
- Select External Audio Output: In your TV’s sound settings, switch the audio output from “TV Speakers” to “Receiver (HDMI)” or “Audio Out / eARC”.
- Enable HDMI-CEC: Turn on HDMI-CEC (Anynet+ on Samsung, Simplink on LG, Bravia Sync on Sony) so your TV remote controls soundbar volume and power automatically.
- Verify Audio Format: If playing Dolby Atmos content, confirm that your streaming source, TV app, and soundbar display acknowledge the Atmos stream.
Wall Mounting and Cable Management
The cleanest visual result comes when the soundbar is aligned symmetrically beneath the centerline of the television, with all power and HDMI cables completely concealed inside the wall or routed through a recessed media box.
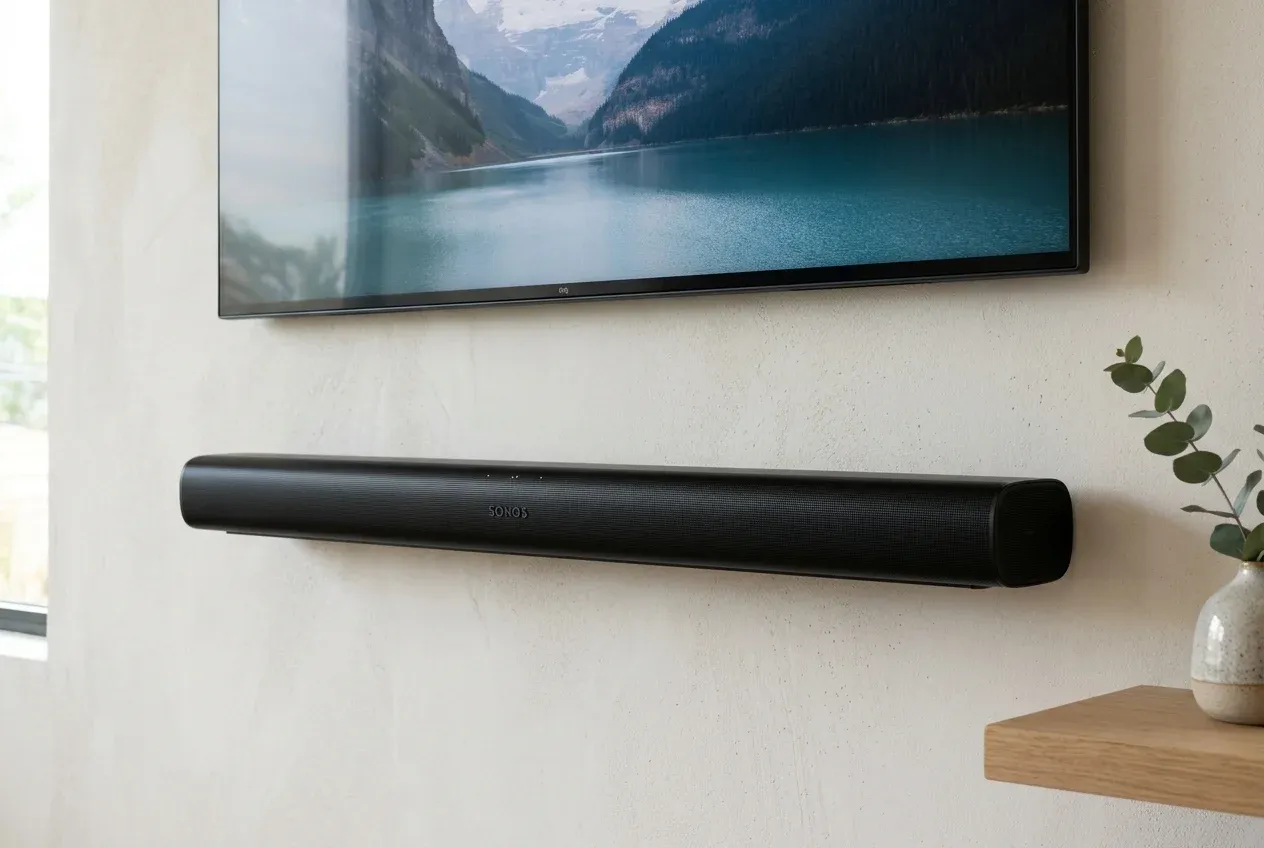
Suggested Alt Text: sonos arc soundbar wall mounted beneath tv with hidden wires
TVPro installs soundbars directly to drywall and masonry walls using specialized low-profile brackets, as well as bracket adapters attached directly to articulating TV mounts. When paired with in-wall wire concealment kits, the result is a clean, architectural finish with zero visible clutter.
Soundbar Placement: Wall-Mounted or Attached to the TV?
There are two primary ways to install a soundbar with a wall-mounted TV:
- Direct Wall Mount: Ideal when the TV remains flush and stationary in one position. It provides a clean, floating aesthetic that complements the room’s design.
- TV Mount Attached Bracket: The soundbar mounts to steel brackets attached directly to the TV’s VESA plate. This is the best solution for full-motion articulating mounts, ensuring the soundbar automatically turns and follows the screen when swiveled toward a dining area, kitchen, or patio.
In both setups, maintain at least 2 to 3 inches of clearance above the soundbar to allow upward-firing Dolby Atmos height speakers to reflect sound off the ceiling without obstruction.
Dolby Atmos, Passthrough, and Audio Format Settings
A soundbar setup is not complete just because sound comes out of the drivers. To unlock true Dolby Atmos surround sound, every link in the audio chain must cooperate:
- Source App & Content: The title must be broadcast in Dolby Atmos (e.g., Netflix Premium, Apple TV+, Max, 4K Blu-ray).
- TV Audio Format Setting: Change your TV’s Digital Audio Output setting from PCM (which forces stereo downmixing) to Pass-Through, Bitstream, or Auto.
- eARC Mode: Ensure "eARC Mode" is explicitly set to Auto or On in your TV’s advanced sound menu.
Common Problems After Installation and How to Fix Them
- No Sound from Soundbar: Verify the HDMI cable is plugged into the designated ARC/eARC port, confirm HDMI-CEC is active, and ensure the soundbar input selector is set to "TV" or "eARC".
- TV Remote Does Not Control Volume: Toggle your TV’s HDMI-CEC control setting off and back on, or power-cycle both the TV and soundbar by unplugging them for 60 seconds.
- Lip-Sync Delay (Audio Lag): Adjust the "Audio Delay" or "A/V Sync" slider in your TV or soundbar app settings. Enabling eARC with Pass-Through virtually eliminates sync latency.
- Intermittent Audio Dropouts: Older or marginal HDMI cables often fail to sustain eARC bandwidth. Swap to a certified 48Gbps Ultra High-Speed HDMI cable.
Professional Pre-Installation Checklist
Before drilling into your wall, verify the following details:
- [ ] Confirmed TV and soundbar HDMI eARC port locations.
- [ ] Verified soundbar length relative to TV width for balanced proportions.
- [ ] Checked for upward-firing driver clearance (minimum 2–3 inches).
- [ ] Planned power outlet location and low-voltage in-wall cable pathway.
- [ ] Selected the right mount type (direct wall bracket vs. articulating TV arm bracket).
- [ ] Prepared certified in-wall rated HDMI cables.
The TVPro Perspective
Our philosophy is simple: great home entertainment should look as clean as it sounds. We don't just connect cords—we align speakers to millimeter precision, conceal all cables behind the drywall, configure the optimal eARC passthrough settings, and verify one-remote operation before we leave your home.
Sound should feel integrated, not tacked on. TVPro aligns the TV and soundbar, plans eARC and cable routing, protects your wall finish, and backs every installation with a five-year workmanship warranty.
️ Need Professional TV and Soundbar Installation?
Looking for certified TV mounting, acoustic soundbar alignment, and 100% hidden wires? TVPro delivers professional installations with same-day appointments available.
FAQ
Is HDMI eARC better than an optical audio cable?
Yes. HDMI eARC offers exponentially higher bandwidth, supporting uncompressed Dolby Atmos, DTS:X, and 7.1 surround sound. It also supports HDMI-CEC, allowing your TV remote to control soundbar volume.
Can one remote control both my TV and soundbar?
Yes. When connected via HDMI ARC or eARC with HDMI-CEC enabled, your TV remote will automatically adjust soundbar volume and mute, and both devices will power on and off together.
Can a soundbar be mounted directly under a TV?
Yes. It can be mounted directly to the wall surface or attached to the TV mount using soundbar adapter brackets so it swivels along with the TV screen.
Why does my soundbar play sound but not Dolby Atmos?
Dolby Atmos requires an active eARC connection, compatible Atmos content, and the TV output set to "Pass-Through" or "Auto". If your TV outputs stereo PCM, Atmos metadata is lost.
Can I hide the soundbar power cable inside the drywall?
Standard soundbar power cords are not code-rated for in-wall use. To conceal wires legally and safely, install an in-wall power extension kit or a recessed media box with integrated electrical outlets.
Should I use the HDMI cable that came in the soundbar box?
Usually yes. Factory-supplied cables are tested for the soundbar’s bandwidth. However, if routing cables through the wall, ensure you use an in-wall rated (CL2/CL3) high-speed HDMI cable.